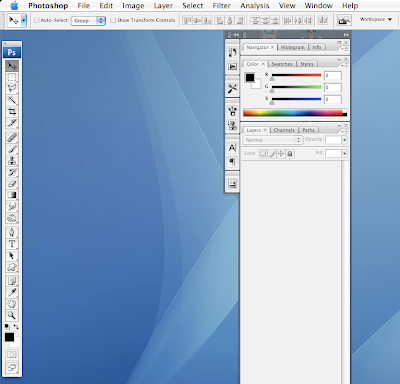
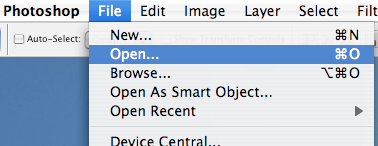
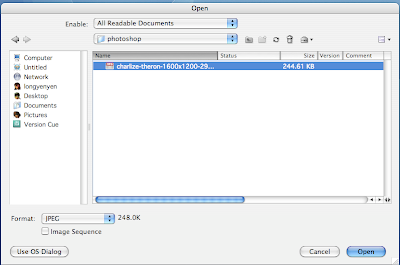
- Hey girls.. welcome to the 3rd part of our photoshop quickie series.
- In our first tutorial, you learnt how to transform this :
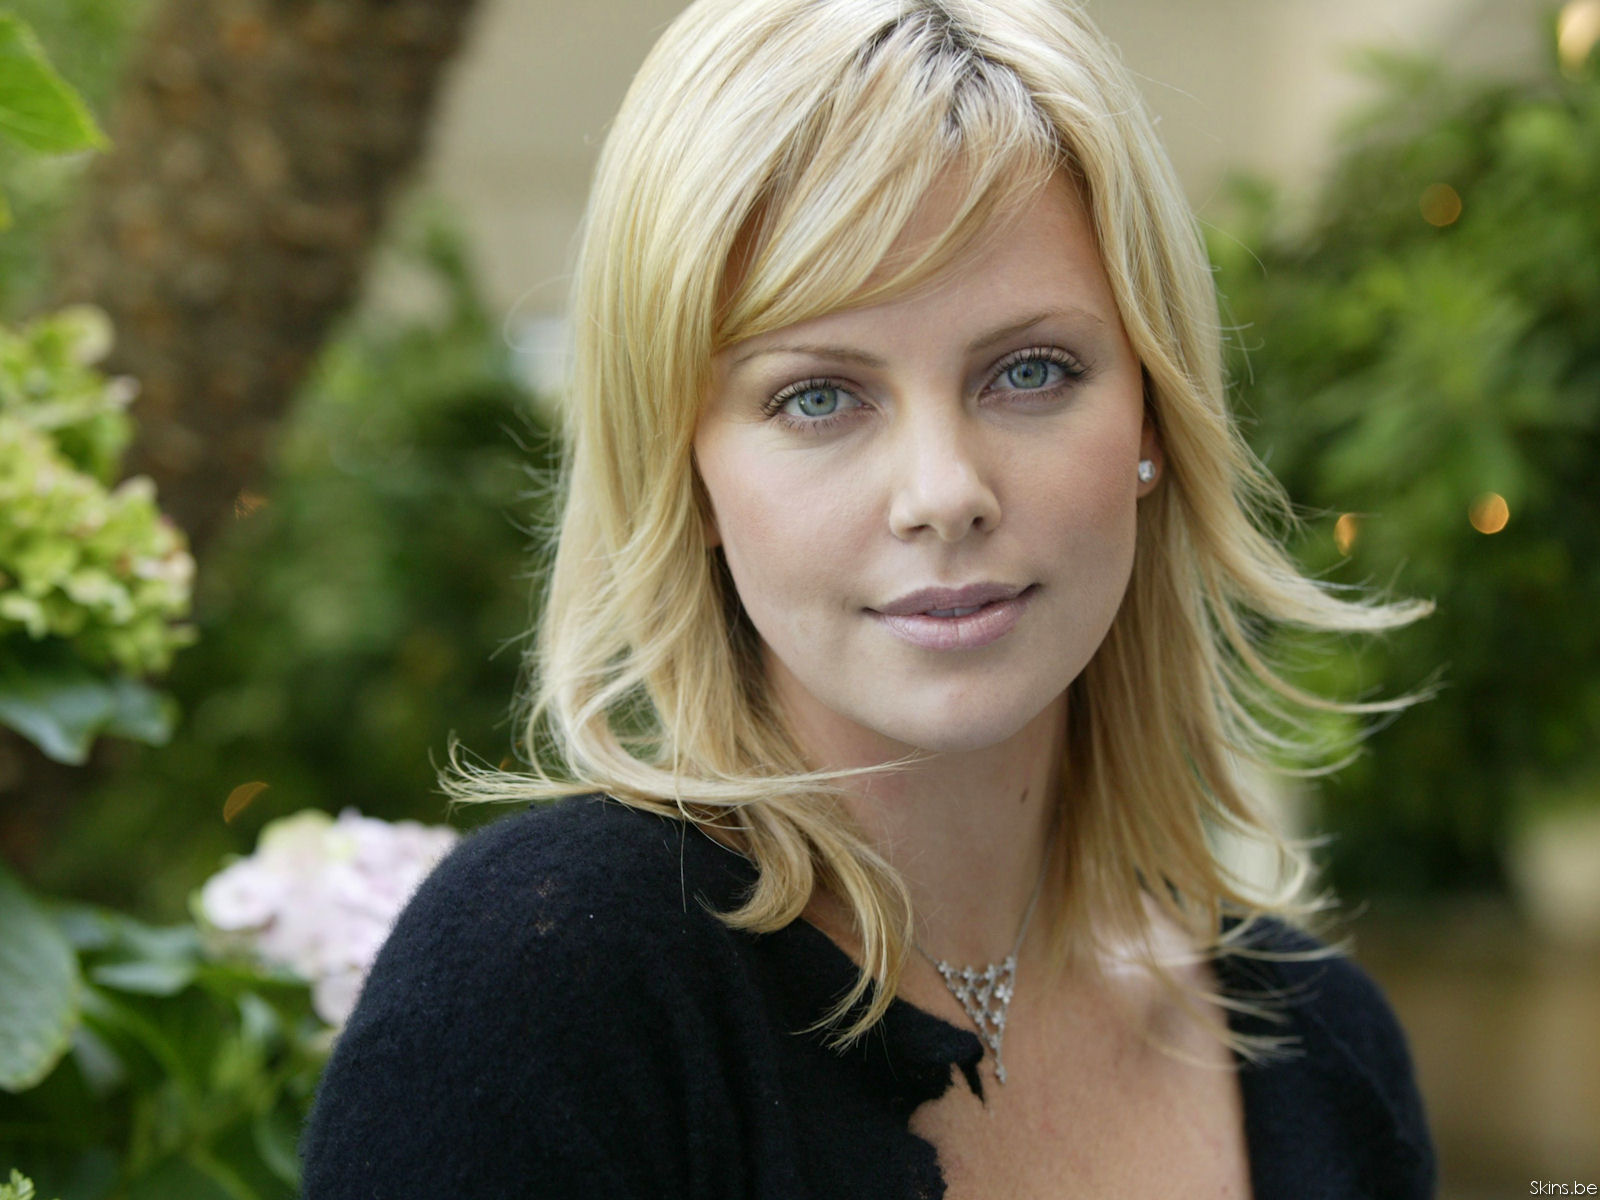
to this by adjusting the contrast and colour levels: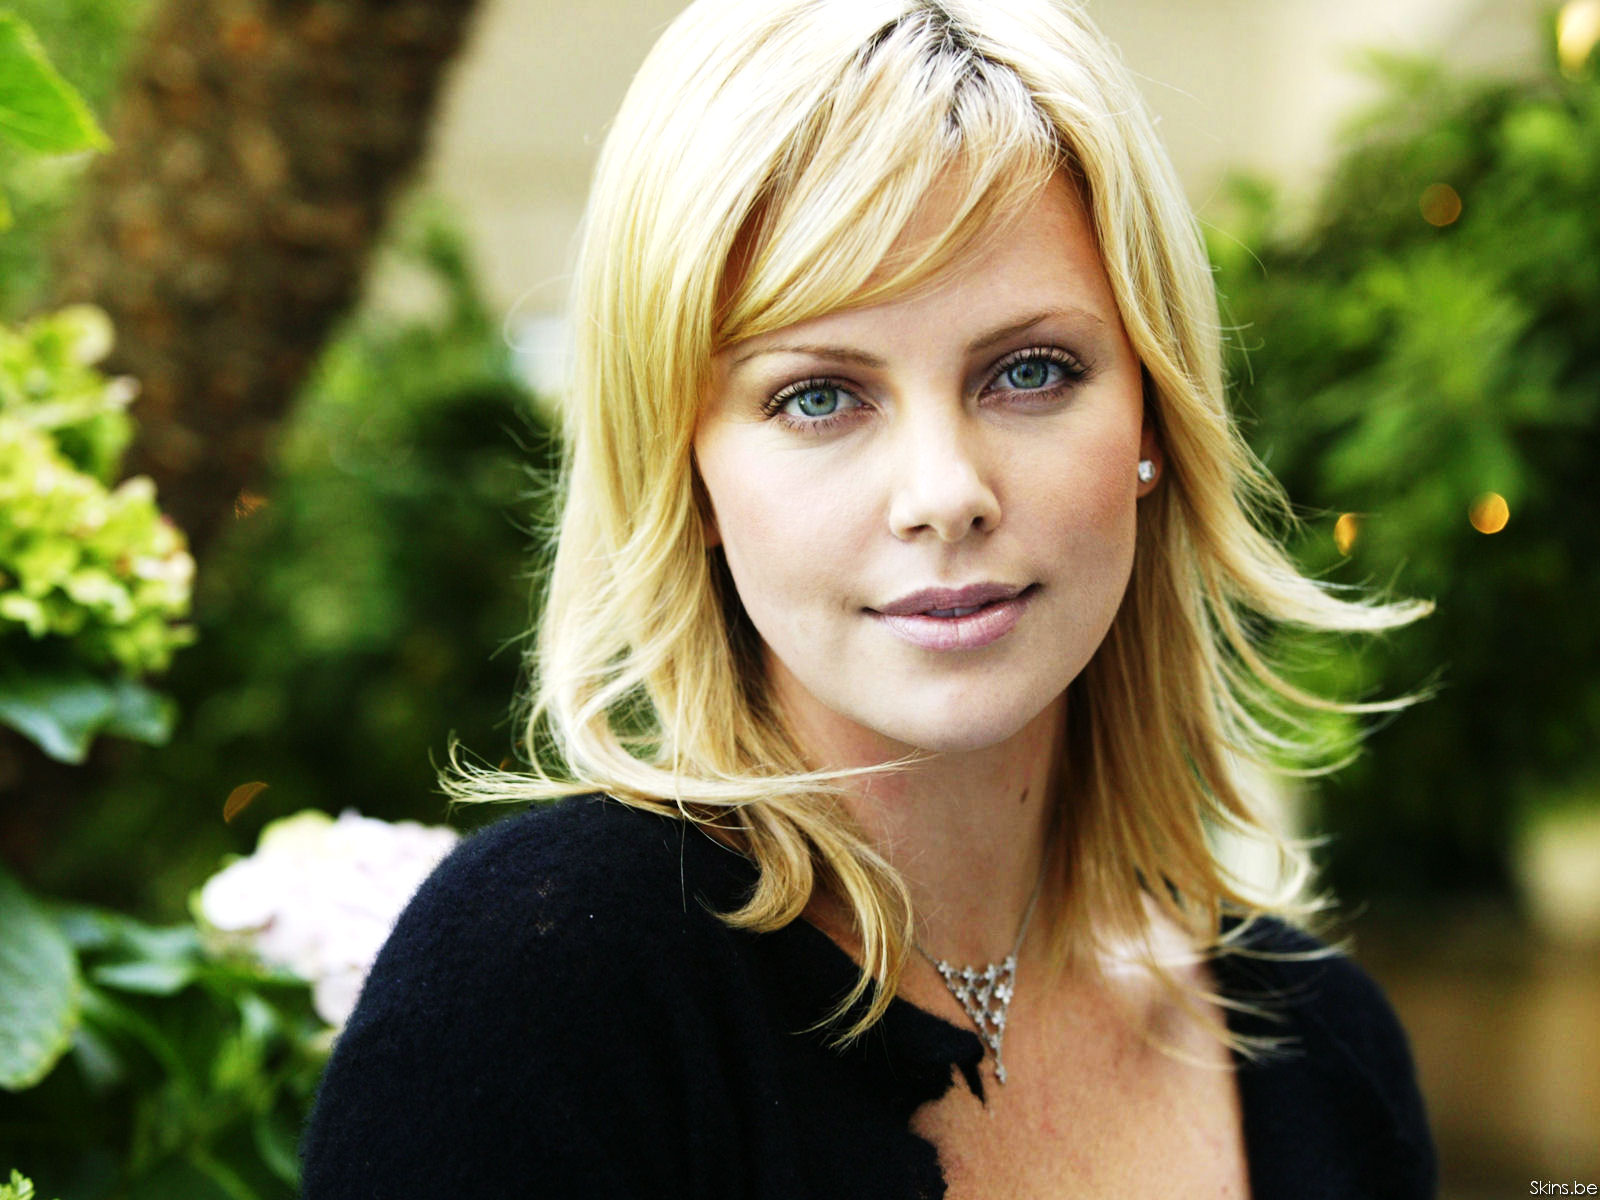 If you missed the first tutorial, you can find it here.
 - In the second tutorial.. you learnt how to erase pimples and moles, wrinkles.

- Today you will learn how to make your skin so much more smoother... your result will look like this :

- If you compare this picture to the one above, you can see that this photo, her skin is very very smooth, especially the neck area. What we are going to do is we are going to blur the whole skin area to get that smooth look.
ok let's get started------------------- - right click on the Background layer, and this will pop up.
Click on duplicate layer. - Click on filter>blur>gaussian blur
 You don't want it to be too blur.. just blur enough to cover all the skin flaws..
Pull the slider until you are satisfied with how blur it is.
We use 7.2 pixels. - Click on the Eraser tool
 Your photo looks like this now. all blured
 Rub away the background : all the leaves and her clothes. We just want her skin blurred only.
 Rub away her eyes, nose and mouth.. and the diamond as well
Most importantly, rub away her jawline to get back that sharp line ... do that to the ears and nose as well. - Now, you know that all photos have noise. those dotted coloured pixels. when we blurred our photo, all the noise is lost. We want them back or people will realized that we have blurred the skin.
Go to filters> noise> add noise
match the noise value to the photo noise level..
Pull the slider and get the best option.
We use 1.65 This is your result. Smoother skin!
photoshop tutorials smooth skin flaws

