New website http://hazelong.com

Jan 31, 2009

Chinese New Year in Penang

I am finally back!!!!

phew..
I went to Penang for my CNY holidays..
It was just like what one of my buyers said, "The whole KL traffic will literally migrate to Penang."
She didn't mention that it includes human traffic other than car traffic.
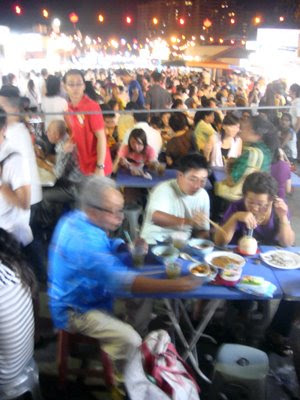
This is at Gurney Drive... the food court. Nobody is standing.. Everybody is like sitting and there is barely any space to move about at all. How crazy is this wei.
We waited for half an hour for the current table to finish eating.
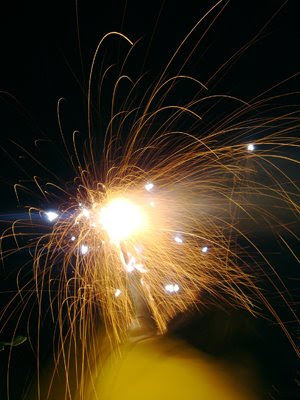

I played fireworks outside Gurney Drive.The brown blur is the shaking and screaming me.
Tips for taking fireworks : Use slow shutter speed.
If you are using normal camera, use the setting that always get your shots blur no matter how steady you hold your camera.
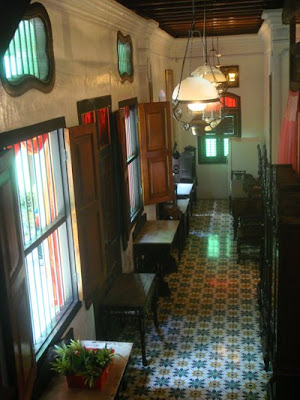

We went to most of the temples and historical places in Penang.. This is at the Peranakan Mansion, home of the Baba and Nonya..
The house has a very nice colour scheme to it.. greens and reds..
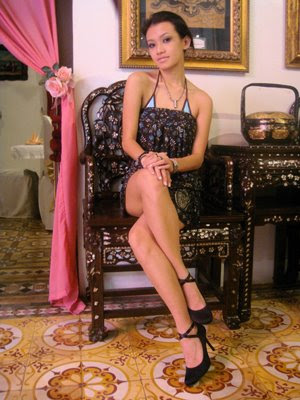
So many vintage antiques and props.. pose pose camwhore..
I am a baba nonya yay.

Posing tips 101 : When crossing your legs, place them side by side and slanting both of them to one direction. Slant your shoulders!!
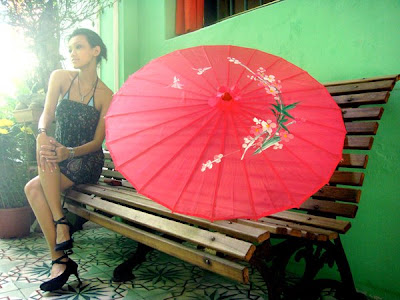

What kinda blardy pose is this. but the colour scheme so nice. pink and greens i like!!

Better now. I bought the pink umbrella hehe.. for future photoshoots.
Looking for a nice chinese fan now.

Koi fishes for dinner.

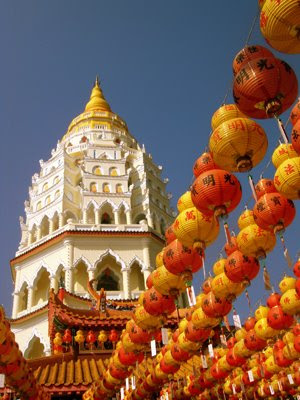
Kek Lok Si pagoda temple.. I din bother to climb it or enter.. haha..
cuz it is surrounded by so many pretty flowers outside.. I was trying to do macro photography with my Skinny T that I won from Kakiis Night Out.
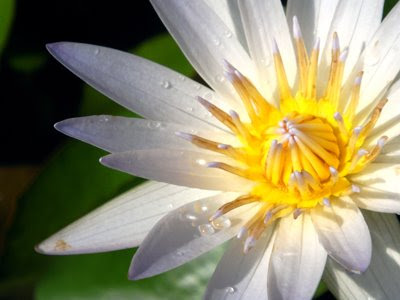
Camera not bad wei.. can zoom and move into the flower pretty close.

Can you believe this is done using a consumer camera and not my Nikon SLR??
OMG..
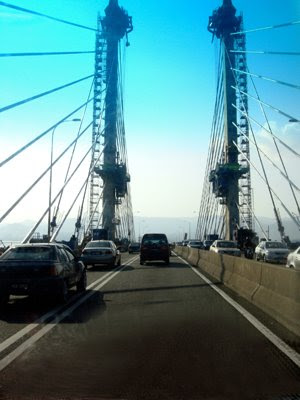
Tips for photography composition.. Never shoot your objects dead center unless there is a creative intention to it.. like the penang bridge shot.. cuz the bridge makes a nice symmetry composition.
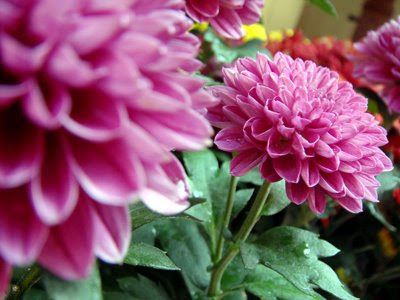
Depth of Field is very nice when you can catch it in photography..especially if there is something really near that is blur and the objects in the background is blur too!!

Posts will resume tomorrow.. peace out ladies!!


Jan 27, 2009

Hair Bun with a Stick tutorial

Hihi.. here is a neat tutorial on using sticks to create hair buns!
You can use anything from chopstick, hair accessories, sticks, pens, pencils .. whatever that is long and thin. (sounds wrong haha)

Gather all your hair in a ponytail with your hand.


Twist your hair into a bun like so.
This is important.. your hair is like a thick string twisted into a bun, so there is a hole in the middle right?


Poke the stick from below and through the hole in the middle just like in the photo.

Reverse the stick to an upright position. If you are doing it right your hair should feel really tight.


Slide your stick all the way into your hair.

There. done!!
But if you are a first timer, you should redo your steps so that it is not so tight and its more comfortable for you.


Easy wasn't it?
It looks like this from the front.

Jan 25, 2009

Bling Bling Nails!

How is your Chinese New Year so far?
You cannot go through Chinese New Year with nude nails! NO!!!
Glam them up with some bling blings to give you luck when you gamble!

Ingredients :
1. Toothpick... Why did I put there toothbrush. wtf. LOL
2. Cotton Pad
3. Tweezers
4. Nail Buffer
5. Tiny Brush
6. Bling blings
7. Basecoat, top coat
8. 2 colour of your choice in matte
9. the same 2 colours but in shimmer.


Before the plastic surgery


You can make your own nail polish corrector by following the steps above!
You can use it to rub off nail polish that is on your skin which is very near the nail.
I am no manicurist ok.... I am doing this the guerilla style just by using my inner artist's common sense!!

After making your nail polish corrector. Buff your nails. First sand them so that your nails are smooth, after that shine them up!

You will get a healthy shine at the end of the buff something like this.


Paint on a coat of base coat on your nails. This is to make sure your nail polish stays on for as long as it can! (I think)

Paint your nails white or the lighter colour if you are using other colors.
Don't worry if your edges aren't clean, you can use the nail polish corrector to clean them up at the end!
Wait for them to dry.


Using the small brush, get the red/darker colour and dab from the bottom slowing moving up!
You will get a gradient effect like above.
Sorry la, I don't have an airbrush thingie.. so I made do with brush dabbing. Works what. hehe.


At the end, you get something like this. Wait for them to dry.


Now use the white shimmer and apply on the white area only.


Then use the pink shimmer and apply on the red area. Paint a little over the white area to blend the 2 colours together.

Pick up a big diamond and stick it on your nails after applying Top Coat on the back of the diamond as the glue.
Use the tweezers for easy application.

After you are done, you will get something like this.

Now, stick on the smaller diamonds.
First, paint your nail with the top coat. Its impossible to pick them up with the tweezer so use the toothpick, dip it in the top coat.
Use the toothpick to pick up the diamond and stick them on your nail.
Work on one nail at a time.

You will get something like this.

Now use the nail polish corrector and rub off all the nail polish that is on your finger skin. Clean up all the nail edges.


Finish off by applying 2 coats of top coat on your nails!
Remember to apply more on the bling bling area!


Tada!! So shiny!!!


Now I look like some rich girl. Good. I am going to play mahjong now. pfeh.

For the first time, I suceeded in giving myself a nice nail art.

Jan 22, 2009

Chinese New Year Look

Hi everybody..
I am so stressed out.. hope yall can help me with this..
You all know I have been selling the pigment palletes all these while, in the beginning everything was fine and dandy. I wrapped them up with newspaper and put them in an envelope.. go for pos laju and its done!
Everybody is happy.. no complaints.
EDIT : I HAVE NOW UPGRADED TO BUBBLE WRAP PACKAGING. NO COMPLAINTS SO FAR!
Up until now.. I have been packaging my palletes the SAME way.. but recently (the past few weeks) I have been receiving some complaints from my buyer saying that the pallete are damaged.

Then I was paranoid. I started putting like 4 stacks of newspaper in the envelopes.. it was heavier, more expensive.. but the results are still the same.
damn poslaju.

I don't know what I can do to solve this problem..
Should I use bubble wrap? cuz its also thin and then same thing may happen
or change postal service? citylink.. skynet??

Help!!!

Any help is appreciated girls!!

Moving on.. I dared yall to post skimpy pics just like my Sexed Up Look last week.. and in return I will give the blogger a pigment pallete.
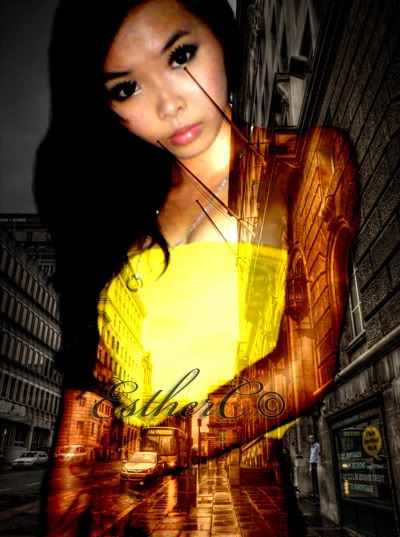
Esther posted hers in her blog and got a free pigment pallete!

Photobucket
Well, thats the end of it.. hehe no more freebies in exchange for skimpy photos.

And now I give all of you the Chinese New Year Look!!


Brows.. I like to use light colours but shading my brows thicker these days due to the trend.

and the usual highlights on the brow bone using Shade 1 and 2 from the pigment pallete. You can use any light colour of course.


I then use Shade 64 on my lids as a base. When using pink or reds, please do not blend too near to the brow bone or your eye will look like a punchbag!!
You can also use any pale red colour for this.


After that I used Majorca Majolica's pink shimmer. The picture of the eyeshadow is down below. I used the pinkie on the inner corner of the eye. This lightens up the red base.
The one I use is the one on the left.

After that I used Shade 73 on the outer corner of the eye. Blend well, don't worry if your eye looks really punched up right now, This is just the base you see. You can also use a dark pinkish red for this.

There, all corrected. hehe.. Use Shade 18 and 29 and brush over all the colours on your eye. This will give your lid a double tone with red underneath and pink on top.
The result will be lighter, sweeter but more intense due to the red underneath.
You can also use any pale pink eyeshadow for this!


Line your eyes up with eyeliner. Remember, its Chinese New Year!! Give your lines a drag at the outer corner so that it slants up like a cat!

Apply mascara!! I used the Feather lashes from Blushberry Lashes Collection.


Use shade 7 to 51 for the blusher. For the lips, prepare them with nude liner or concealer before putting on a pale pink lipgloss!
Hair bun tutorial next week! Remember how Zhang Ziyi fixed up her bun with only a chopstick in Rush Hour? If you own a stick, bun stick, pencils, pens or chopsticks you can follow the tutorial next week!

Get lots of angpow and drive safe during this festive season alright!! Remember, the saman for speeding is RM 300 if you are caught red handed!!! Buckle up behind too.


Its been so long since I last shot using this background. Hehe.. my photographer's skill has improved.

One more thing, if you are bored during Chinese New Year check back at BlushBerry, we will have articles up next week (and an explicit shoot too!)

Keep your angpows safe!! Don't leave your bag anywhere!! Remember to head to the bank once your back! No more shopping.. control! (Seems like I am trying to warn myself instead of yall.. haha)

and lastly.. Gong Xi Fa Cai!! Save an angpow for me alright!!
Muax.. Love you all.